
Rice Without Throwing It Out.
We have had many requests to show step -by-step how to make rice, pack it, and give tips and tricks I use to render your rice back to health if it dries out. So, let’s get started.
First, you have to choose if you are going to make rice in the truck or at your house. The steps are the same, but there are a few pointers you should keep in mind.
Here you have the rice cooker I use in the truck. I will sometimes make soups, ramen, and cook rice in it.
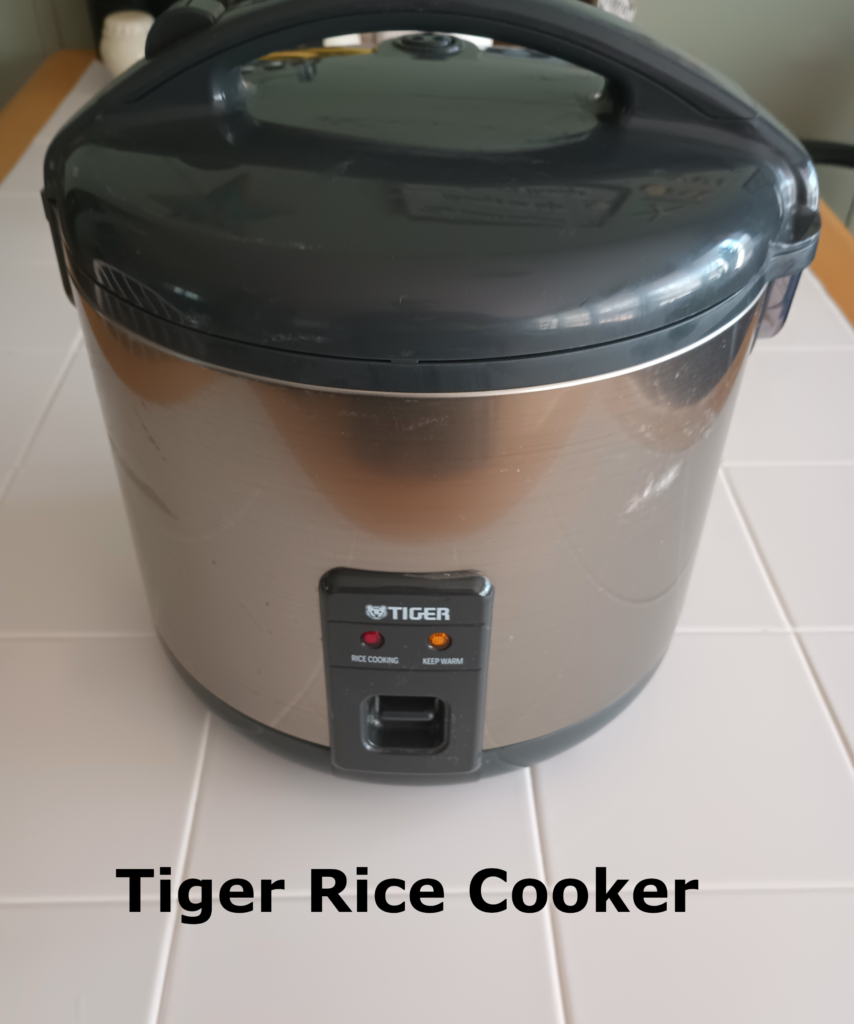
This model here is a cheap model off of ebay. The brand is Tiger. It is a known brand so you shouldn’t have any problems finding it or one that best suits you. I use this one because it was a gift, it is easy to use, and has low watts-650w. It has a single switch, on and off. Therefore, you don’t have to learn about any special programming.
Remembering to look at the watts before purchasing, you only have limited watts from your inverter and don’t want to pop a fuse. Do not use the microwave unless you have a high watt inverter.

This model of rice cooker is Insignia. I use this at home and not on the road. I prefer to package my rice and take with me because it is fast and easy. This rice cooker is rated at 1000 watts. Again, make sure you have a high enough inverter before using.
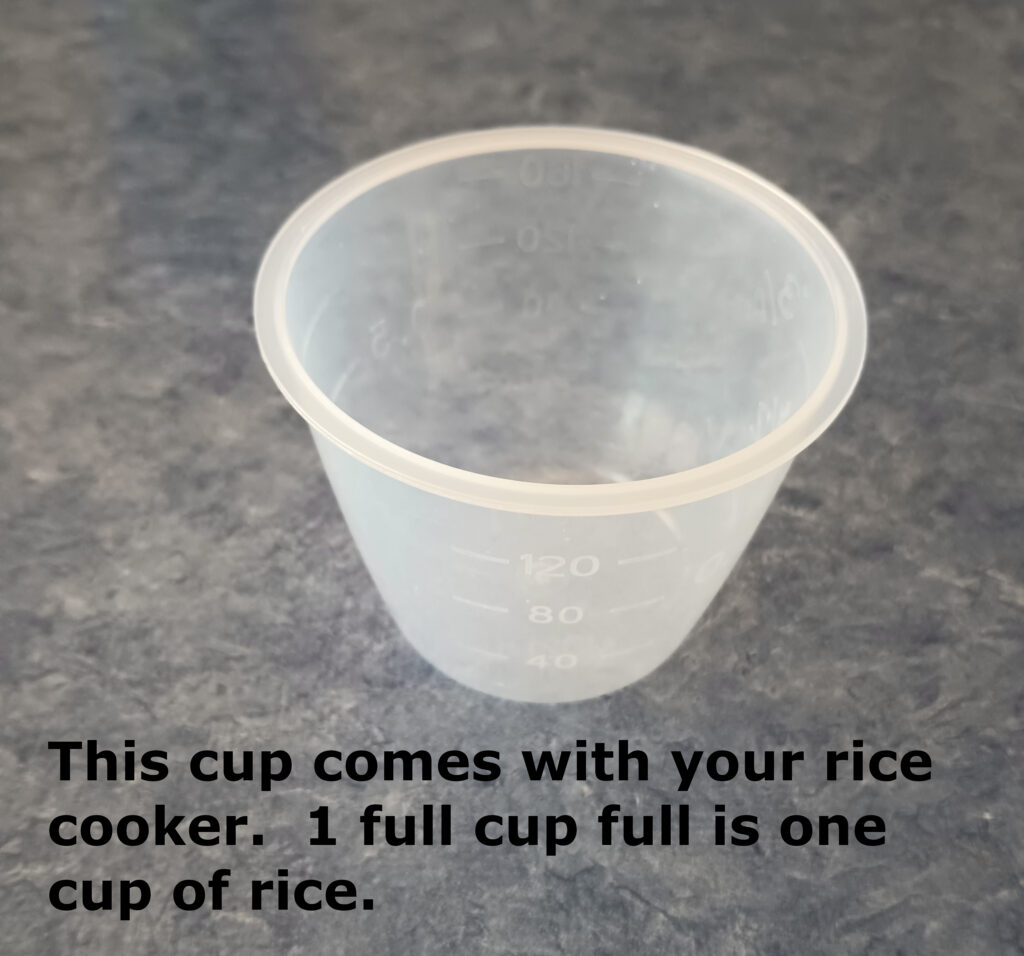
Now, next we need to get a measuring cup. One should come with your rice cooker. Use it to measure one full cup for 1 cup of rice.
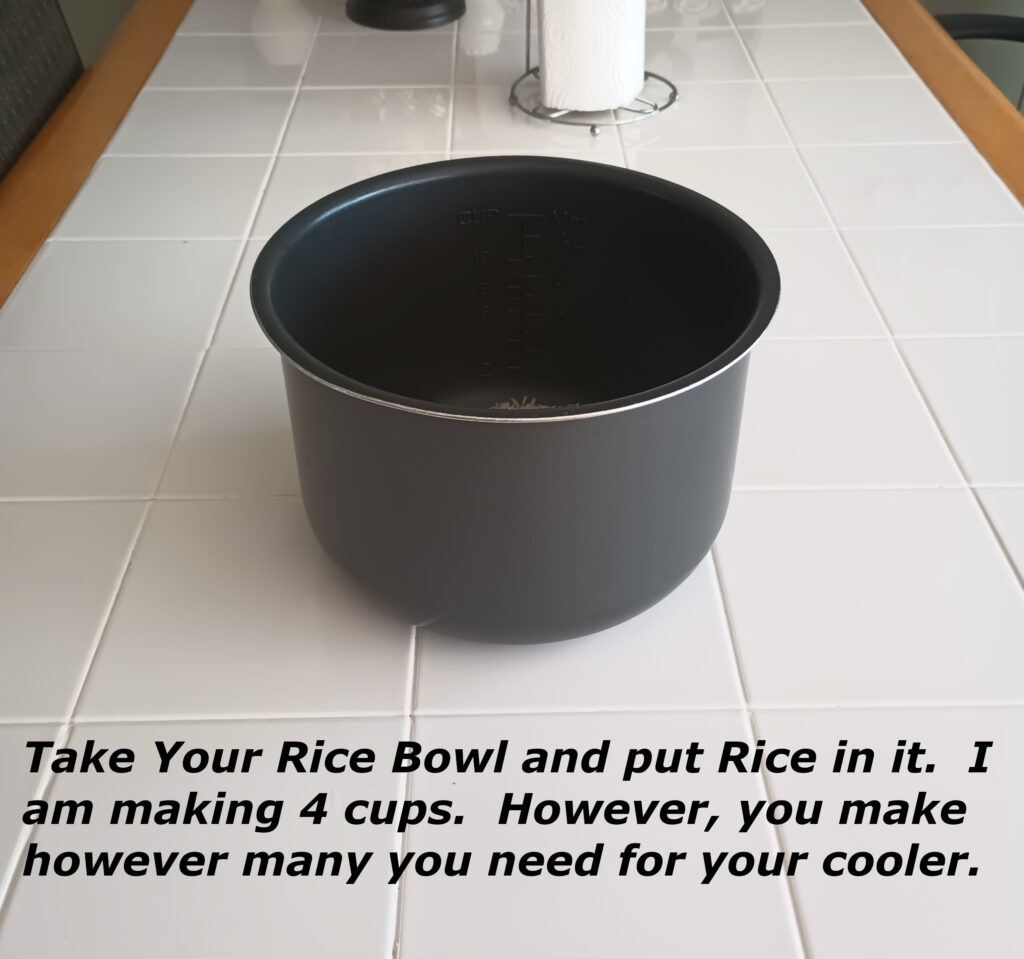
Put the amount of rice that you wish to cook in the bowl inside the Rice cooker.
Make sure you wash the rice until it is near clear.
Fill up the bowl until the correct number of cups you put. It will read on the inside of the bow. 4 cups = level 4 on the side.
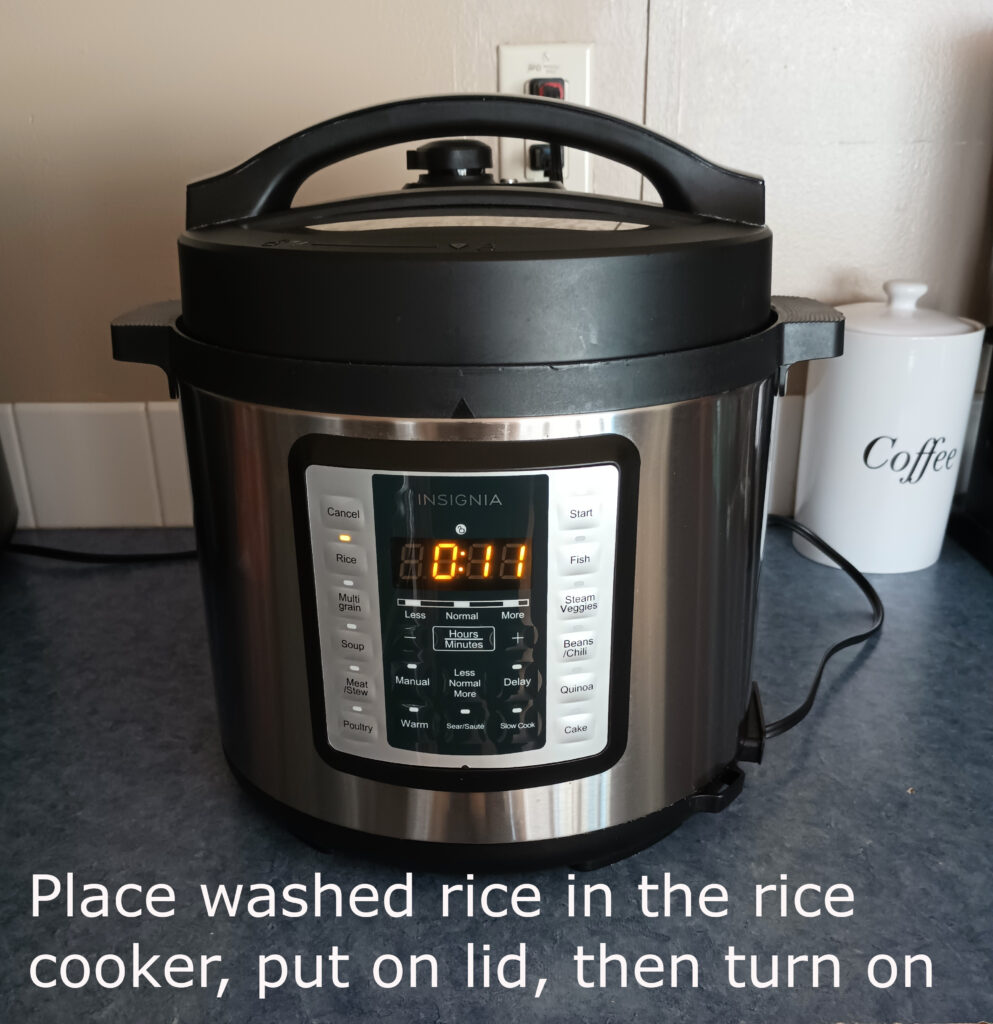
Now, plugin the rice cooker and turn it on. For the tiger rice cooker it is one switch. It should take about 20 minutes. The insignia cooker you press Rice then start.,
Once done, let the rice cooker release the steam. (it is a good idea to have it on the floor if you’re in the truck. The steam can shoot straight up 6 inches or so. Depending on the machine, it will depressurize over 20-30 minutes. If it doesn’t, there is a nozzle on the top where you can depressurize the rice cooker yourself.
Now, open up the rice cooker, use a rice spoon to mix the rice. (if you use a regular spoon, keep in mind the rice cooker bowl is coated with non-stick. Don’t scratch the sides.)
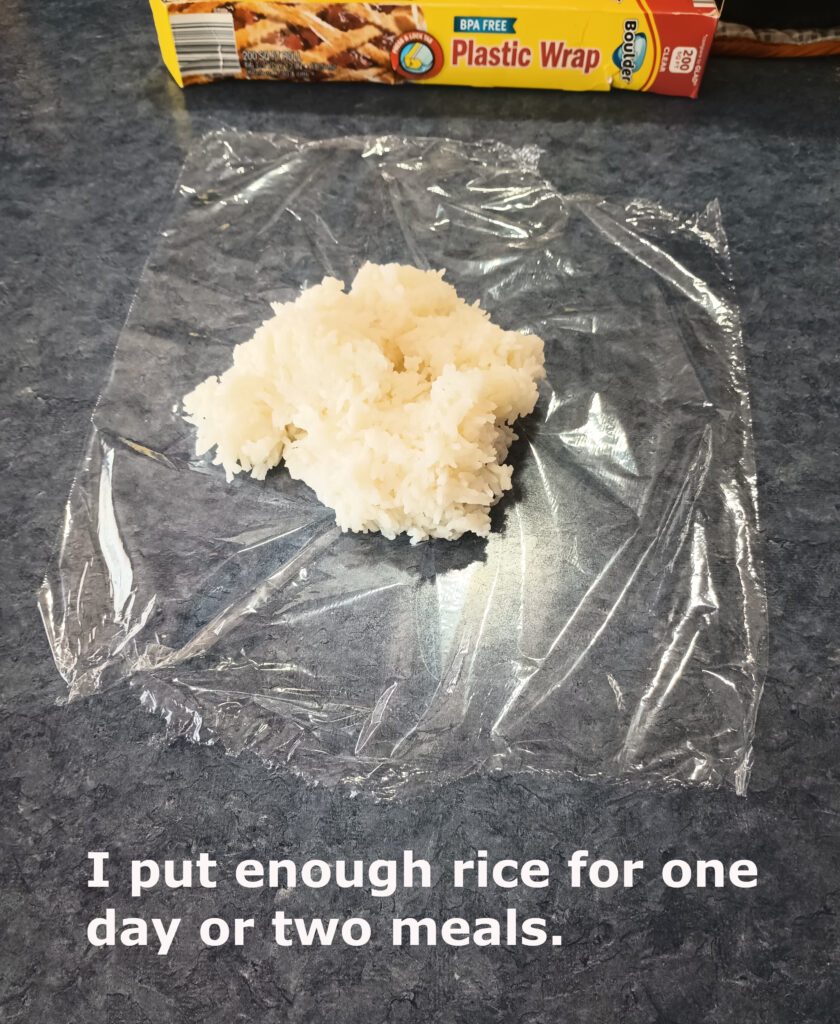
If you are at the house, make sure the rice is warm. Get some saran wrap and make a square. Tear it off and place it on the counter. Put one scoop of rice in the center of the saran wrap.
Then fold the saran wrap over the rice until it is completely sealed.
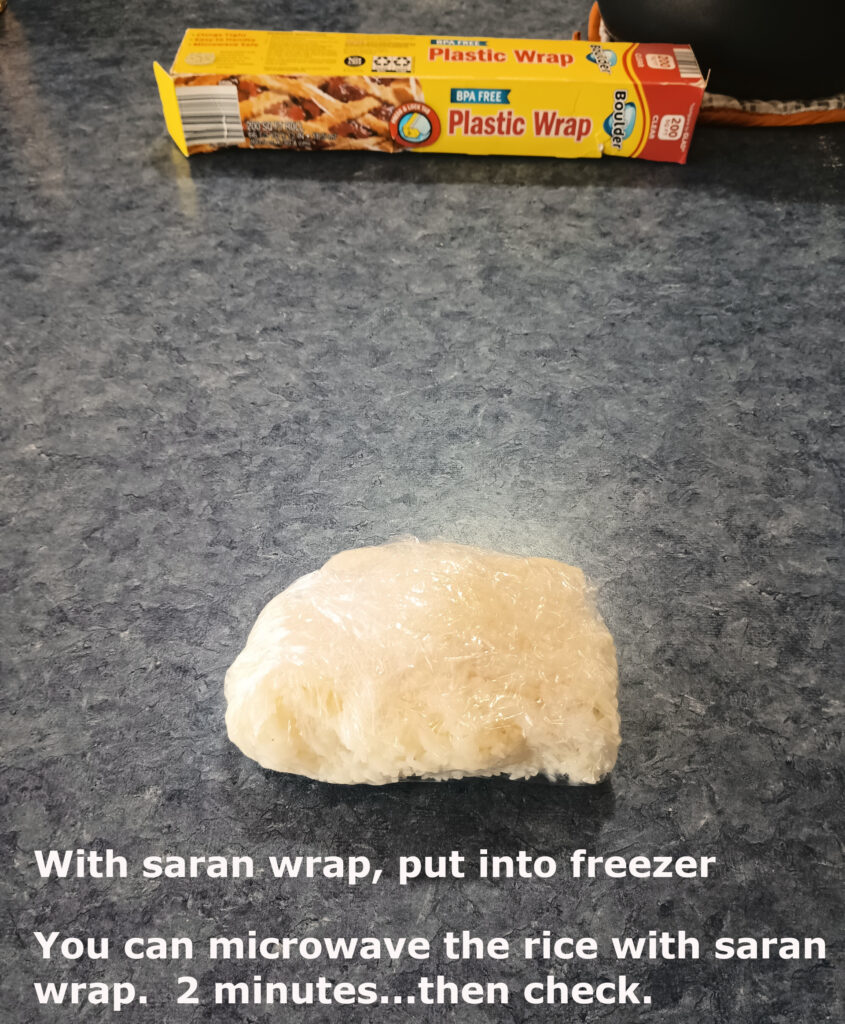
Once the rice cools, put it into the freezer.
Pro Tip: If you put them in the freezer at the house, they are easy to use, carry, and warm up easily which we will discuss in a minute.
When you are ready to use, put it in the microwave and warm it up. I put the saran wrap with it, I have never seen it melt or have any problems.
If you freeze your rice, you won’t need to do anything. If you put it in a container, it might dry out. Simply add a little water to the rice before putting it in the microwave and it will revive your rice.
I never want to hear another driver tell me rice can’t be eaten on the road because it dries out again…LOL.


Responses